 “How to Use the Unroll Tool on NeuroCheck 6.0” – This video teaches users how to implement the “unroll tool”. The “Unroll Tool” is a useful way to take an image of a circular object and turn it into a straight line for easier analysis. One example of an application this tool might be useful for is reading or inspecting text on a wheel. By “unrolling” the object, the text may be easier for the software to find or identify. To watch our latest NeuroCheck Software “How To” video, visit http://www.fsinet.com/Support.htm
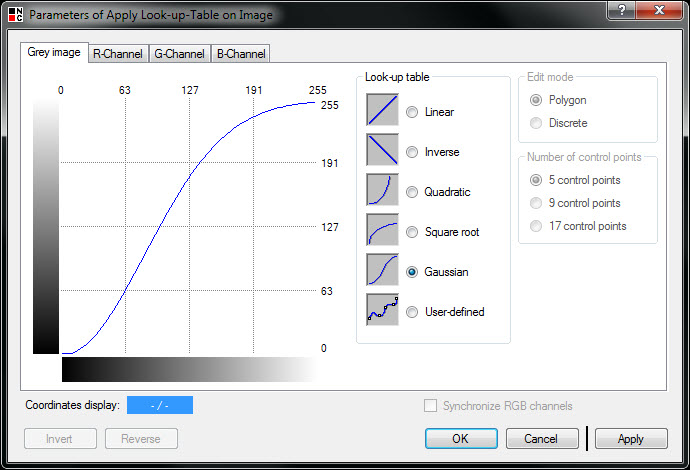
  “How to Use Color Distance and Free Caliper Tools in EyeVision Technology” – This video demonstrates how to use two tools found in EyeVision Technology software – Color Distance and Free Caliper. Color Distance enables users to create a synthetic grayscale image by taking a selected reference color and transforming each pixel to a shade of gray corresponding to the “distance” (in 3D color space) between the reference color and the pixel. This tool can help identify/magnify differentiation between objects in an image. Also demonstrated in this video, Free Caliper is used the same way as a real-life caliper. The jaws of the caliper open and shut and are used to measure a part or product. To view this video, click on http://www.eyespectorus.com/eyevision.html.
“How To” Videos now available for both NeuroCheck and EVT Machine Vision Software
Reply
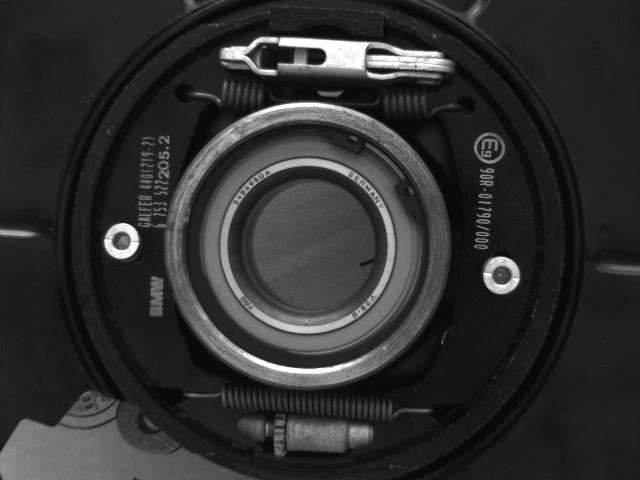
 FSI/ Kwangwoo hollowshaft encoders continue to be a popular item in 2012. Encoders convert motion into digital information for display or control based on motion variables such as position, speed, length, RPM, etc. The advantage to using a hollowshaft encoder is that access to the end of a shaft is unnecessary. The encoder simply slides over the shaft and is mounted on it like a doughnut (as pictured). For more information, visit